Headder AdSence

Showing posts with label dbt Course. Show all posts

How to Build Modular dbt Models with SQL and Jinja (Beginner-Friendly Guide)


📘 Introduction

In dbt, models are SQL files that build on each other to form a clean, reusable data layer — but what truly makes dbt powerful is its use of modular SQL + Jinja templating. This combo lets you write dynamic, DRY (Don’t Repeat Yourself) code that scales beautifully.

In this module, you'll:

  • Learn how dbt models work

  • Create layered models using dependencies

  • Use Jinja templating to make your SQL smarter
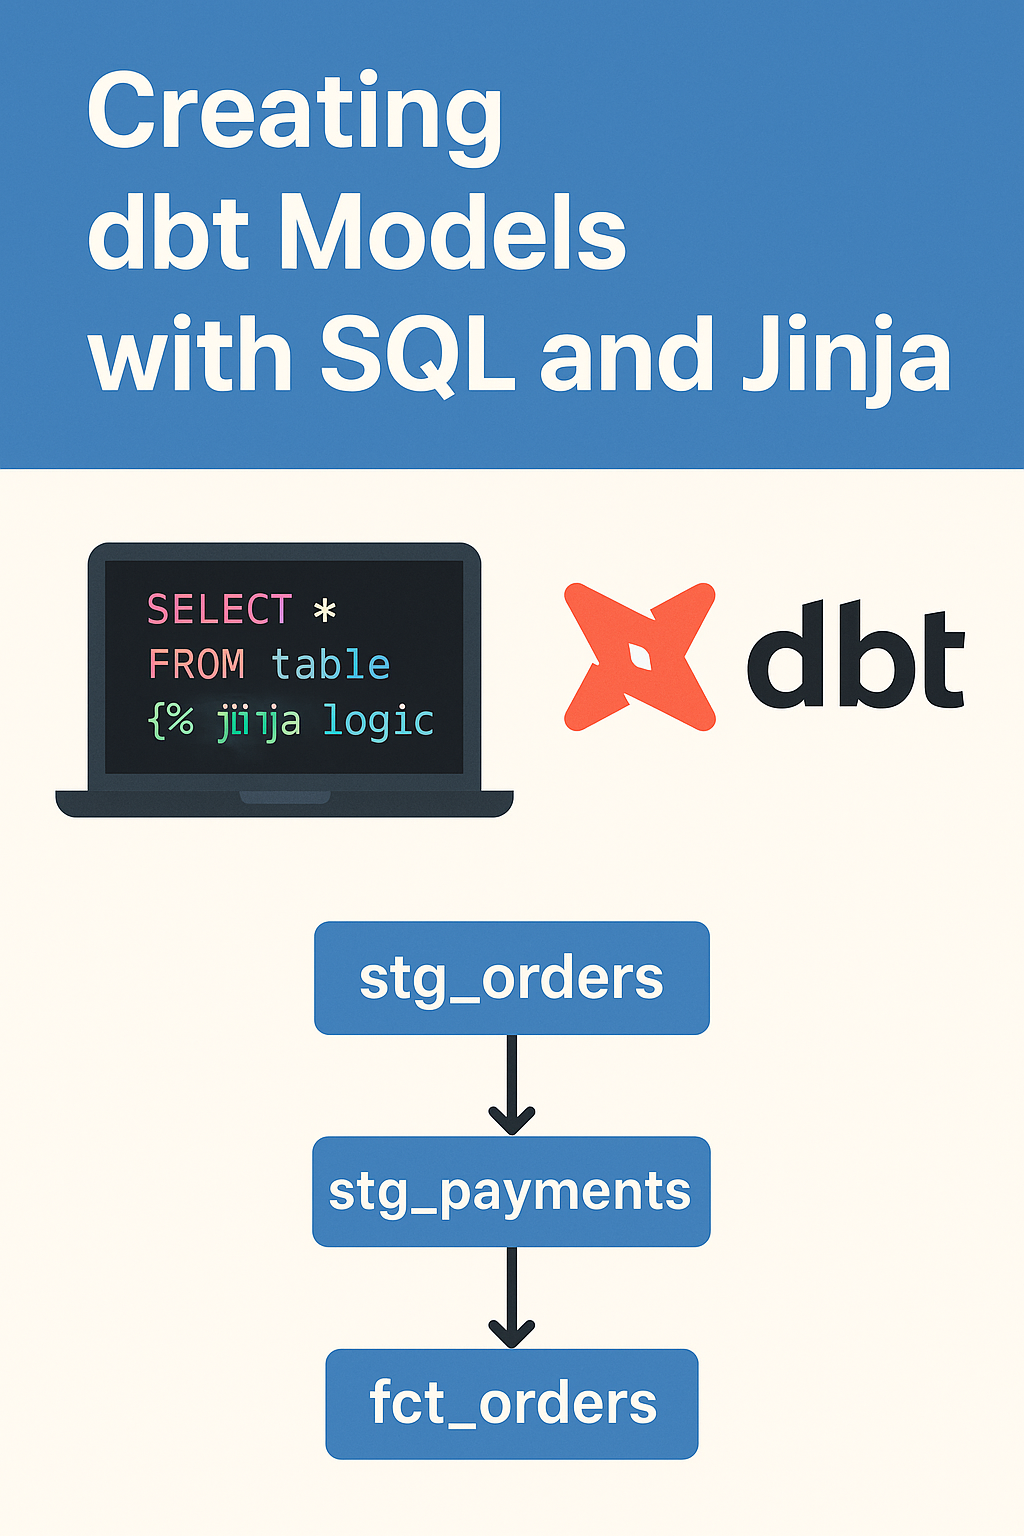


🧩 What Is a dbt Model?

A model in dbt is simply a .sql file stored in your models/ folder.

For example:

-- models/base/customers.sql

SELECT * FROM raw.customers

When you run dbt run, dbt executes the SQL and materializes it in your warehouse (as a table/view).


🧱 Creating Modular Models

Let's say you have raw data in raw.orders and raw.customers. You want to:

  1. Clean the raw data

  2. Join it into a final dataset

  3. Build a KPI layer on top

Here's how to do it:


🔹 Step 1: Create a base model

📄 models/base/customers.sql


SELECT 

  id AS customer_id,

  full_name,

  country

FROM raw.customers

📄 models/base/orders.sql

SELECT 
  order_id,
  customer_id,
  order_date,
  total_amount
FROM raw.orders

🔹 Step 2: Create an intermediate model (joins)

📄 models/intermediate/customer_orders.sql


SELECT 

  c.customer_id,

  c.full_name,

  o.order_id,

  o.total_amount,

  o.order_date

FROM {{ ref('customers') }} c

JOIN {{ ref('orders') }} o ON c.customer_id = o.customer_id


{{ ref('model_name') }} is a Jinja function that builds dependencies and ensures models run in the right order.


🔹 Step 3: Create a final model (metrics)

📄 models/marts/total_sales_by_customer.sql

SELECT 

  customer_id,

  COUNT(order_id) AS total_orders,

  SUM(total_amount) AS total_spent

FROM {{ ref('customer_orders') }}

GROUP BY 1

🔄 Understanding Model Dependencies

dbt auto-generates a DAG (Directed Acyclic Graph) of model relationships when you run:

dbt docs generate && dbt docs serve


You’ll see how total_sales_by_customer depends on customer_orders, which depends on orders and customers.


🧠 What Is Jinja?

Jinja is a templating engine. dbt uses it to:

  • Reference models ({{ ref() }})

  • Use variables and conditionals

  • Create reusable SQL macros

Example: Conditional logic


{% if target.name == 'dev' %}

  SELECT * FROM raw.customers LIMIT 10

{% else %}

  SELECT * FROM raw.customers

{% endif %}

💡 Pro Tips

  • Use folder names like base/, intermediate/, marts/ to organize models

  • Always use ref() instead of hardcoding table names

  • Add descriptions in dbt_project.yml to document models


📌 What’s Next?

📍 Next Module: Sources, Seeds, and Snapshots – Managing Your Raw Data 

🧱 Module 3: Create Your First dbt Project and Connect to a Data Warehouse

📘 Introduction

Now that dbt CLI is installed, it’s time to create your first dbt project. In this module, you’ll:

  • Initialize a dbt project

  • Connect it to a data warehouse (we’ll use Snowflake or PostgreSQL)

  • Understand the project folder structure

  • Create and run your first model

Let’s dive in and turn raw data into analytics-ready models using just SQL.


🧰 What You’ll Need

  • dbt CLI installed (dbt --version)

  • Access to Snowflake or Postgres (other adapters also work)

  • Terminal or command prompt

  • Basic SQL knowledge


🚀 Step-by-Step: Create a dbt Project


🔹 Step 1: Initialize Your Project

In terminal or CMD, navigate to your workspace and run: 


dbt init my_dbt_project

Replace my_dbt_project with your preferred name.

🔹 Step 2: Choose Your Adapter

During the init process, dbt will ask you to choose a warehouse adapter.

For example:

  • snowflake for Snowflake

  • postgres for PostgreSQL

Follow the prompts and confirm project setup.

🔹 Step 3: Understand Project Structure

After setup, you’ll see folders like: 

my_dbt_project/

├── dbt_project.yml      # Project config file

├── models/              # Where your SQL models live

├── snapshots/           # Optional - point-in-time copies

├── seeds/               # Static CSV data files

├── macros/              # Reusable SQL logic (Jinja)

└── target/              # Output folder (autogenerated)

models/ is where you’ll spend most of your time.

🔹 Step 4: Set Up Your Profile

dbt connects to the warehouse using a profiles.yml file.

Location:

  • Windows: C:\Users\<yourname>\.dbt\profiles.yml

  • Mac/Linux: ~/.dbt/profiles.yml

Snowflake Example:

my_dbt_project:

  target: dev

  outputs:

    dev:

      type: snowflake

      account: your_account

      user: your_user

      password: your_password

      role: your_role

      database: your_database

      warehouse: your_warehouse

      schema: analytics

      threads: 1

Postgres Example:

my_dbt_project:
  target: dev
  outputs:
    dev:
      type: postgres
      host: localhost
      user: your_user
      password: your_password
      port: 5432
      dbname: your_db
      schema: analytics
      threads: 1

🔹 Step 5: Test the Connection

Inside your project folder, run:

dbt debug

✅ You should see:
All checks passed! Connection is working.


🔹 Step 6: Create and Run Your First Model

Create a file:
📄 models/first_model.sql

Paste this simple model:

SELECT 1 AS id, 'dbt works!' AS message

Run your model:
dbt run

🎉 That’s it! Your first model is live in your data warehouse.


💡 Pro Tips

  • Keep models small and modular — one concept per file

  • Use Jinja templating for dynamic logic (we’ll cover this in Module 4)

  • Use dbt run --select model_name to run individual models


📌 What’s Next?

📍 Next Module: Create Modular dbt Models Using SQL + Jinja
You’ll learn to layer models and add reusable SQL logic with Jinja templating.